
back
Knitorial for Beginners

Learning the Basics via Circle Scarf
I understand that there are a ton of Intro to Knitting video tutorials out there, but I always find myself rewinding and pausing and losing my place, so I thought I would lay out the essential knit stitch out for anyone who wants a step-by-step introduction to the relaxing past time. Somehow, my 90 year old grandmother was able to teach me to knit with a broken right wrist. So I think it's safe to say, once you learn the basics of knitting it is both an enjoyable and addictive hobby
, and something you are not going to forget. A recent study even found that it has many health benefits as well! And once you've learned the basics, you can exhaust this knowledge to its end through scarves, circle scarves and simple headbands! At which point I hope you will move on to new, more challenging projects!
Here is a link to that study I was talking about: Therapy in Your Own Hands

You will need...
150 m of medium width yarn
Size 8 or 9 straight knitting needles
1 darning needle
This "Knitorial" will be laid out in 3 different stages, Casting On, Knitting and Binding Off.
Casting On
Step 1
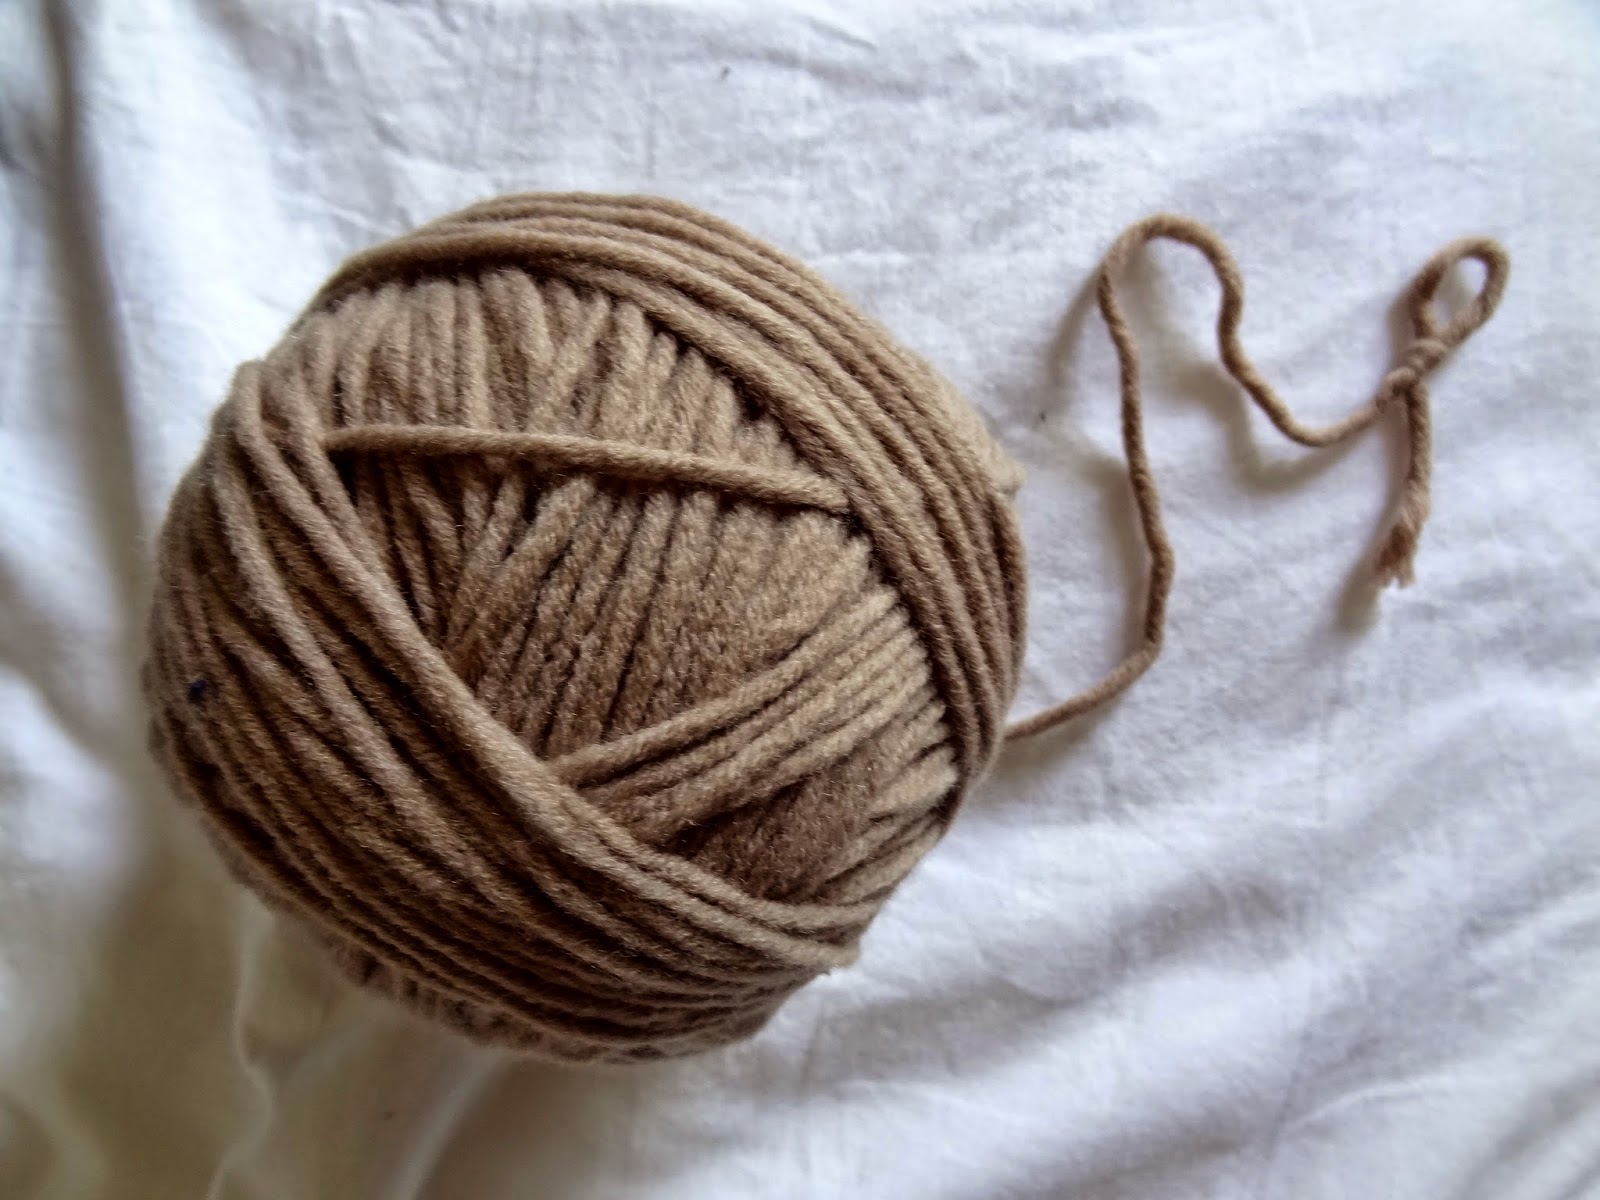
Start with your yarn. Even though it seems like it will be more productive, it's not the thickness of the yarn that makes your knitting grow faster, it's the size of the needles. However, for learning, I would recommend a medium thickness wool and about size 8 or 9 needles. Then, if your yarn is not in it's own sort of ball to begin with, such as the blue wool below, but rather in some form of wrap, you may want to roll it into a ball to prevent any tangles!
Step 2
Once you have your ball of yarn, you are going to start by tying a slip knot. A slip knot is simply tying a knot with one end of the yarn around the same yarn, just a bit further down so it forms a loop and the knot can move up and down the yarn in order to tighten itself.

Step 3
Slide your slip knot onto one needle. Then we will begin "casting on" stitches in order to determine the width of what you are going to make. In the following photo tutorial, keep in mind that we will be knitting a wide circle scarf so depending on what you plan on knitting, you may want to cast on more or less stitches than we do.

Step 4
Slide the other needle through the loop you made with the slip knot that is already on your first needle, making sure to slide in your second needle behind (or below, whichever makes sense to you) your first needle.

Step 5
With the yarn that is hanging behind the loop that is now surrounding both of your needles, you are going to take that yarn in your right hand and bring it behind your second needle, and then through your two needles. You will now be pulling the yarn back where is started to the right side of your needles. For all steps in the following tutorial, the needle that has its handle to the left will always be considered your left needle and the needle that has its handle to the right will always be considered your right needle.

Step 6
Keep a fairly tight grip on the yarn so that it is always pulled straight. Then you are going to slide your right needle (the one that was behind your left needle in the previous two steps) back to the right, so that the tip can catch the yarn you have pulled through the middle of the two needles, and then push that right needle behind the original slip knot loop that is still on your left needle.

Step 7
From here, the yarn you have been holding onto will create a second loop as you pull your right needle away from the left needle. Remember to keep the yarn fairly taught so that the loops aren't able to get too loose and slide off your needles.

Step 8
Then, with the loop you have just created that is now on your left needle, you are going to pull it to the top of your left needle and slide it back onto your right needle beside the first slip knot loop you made and off your right needle.


Step 9
Then you are going to repeat this process, from Step 4 to Step 8, 28 more times so that you have casted on 30 stitches. Then I will meet you at Step 15.
Step 10 (Step 4)
Slide your right needle into through the second loop you just made that is on your left needle, making sure to slide in your right needle behind (or below) your left needle.

Step 11 (Step 5)
With the yarn that is hanging behind the loop that is now surrounding both of your needles, you are going to take that yarn in your right hand and bring it behind your second needle, and then through your two needles. You will now be pulling the yarn back where is started to the right side of your needles.

Step 12 (Step 6)
Keep a tight grip on the yarn so that it is always pulled straight. Then you are going to slide your right needle back to the right, so that the tip can catch the yarn you have pulled through the middle of the two needles, and then push that right needle behind your second stitch loop that is still on your left needle.
Step 13 (Step 7)
From here, the yarn you have been holding onto will create a third loop as you pull your right needle away from the left needle. Remember to keep the yarn fairly taught so that the loops aren't able to get too loose and slide off your needles.

Step 14 (Step 8)
Then, with the loop you have just created that is now on your left needle, you are going to pull it to the top of your left needle and slide it back onto your right needle beside the second stitch loop you made and off your right needle.

Step 15
After you have repeated Steps 4 to 8 another 27 times, you should have 30 stitches casted onto your left needle.

Knitting
Step 16
Now you are going to begin knitting which is very similar to the casting you just did, except that you will not be sliding your stitches that you make on your right needle, back onto your left needle.
So, to start, your yarn will now be hanging off the last stitch on your left needle. Now you are going to slide your right needle into the first stitch on your left needle.

Step 17
Then you are going to take the thread that is hanging behind the loop that now surrounds both of your needles into your right hand, and bring it through the middle of your two needles.

Step 18
Then, keeping a fairly tight grip on the yarn so that it is always pulled straight, you are going to slide your right needle back to the right and catch the yarn that has been pulled through your two needles. Then you are going to push that right needle behind the first cast on stitch that is still on your left needle.

Step 19
From here, the yarn you have been holding onto will create a new loop as you pull your right needle away from the left needle.

Step 20
Now we will alter the method for knitting instead of casting on. At this point, when you pull your right needle away from your left needle, creating a new loop, instead of sliding it back onto your left needle, you will pull of the cast on stitch that your new loop has been stitched through off of your left needle. If you look to the above photo in the previous step, you will be sliding off the yarn that is at the very top of the left needle. And now you will have the first stitch on your right needle.

Step 21
Repeat Steps 16 to 20 until you have knit all the cast on stitches on your left needle onto your right needle.

Step 22
When you are knitting, you will be alternating your needles from right hand to left hand as your stitches move across them. So at this point, you will switch your right hand needle (the one with all of the stitches on it) into your left hand. Now you will be able to repeat Steps 16 to 22 until you have knit the length of whatever it is you would like to make! For a circle scarf we are going to repeat these steps until our knitting is about 36 inches long. However if you wanted to knit a regular straight scarf you would knit until it was your desired length.


Binding Off
Step 23
Now we have to close off the knitting. To do this we will be "binding off" our stitches so that the scarf won't ever unravel on us.
The first step of binding off is to knit 2 stitches.

Step 24
This is where things get a bit tricky, only because you need to be a bit more forceful with the yarn than you were in the previous stages of the knitting. Keeping the yarn tight in your right hand, you are going to slide your left needle through the front of the first stitch that was knitted onto your right needle.

Step 25
From here, (remembering to keep your yarn tight!) you are going to pull the first stitch OVER the second stitch and off the end of your right needle.

Step 26
Then you are going to knit one more stitch, and repeat Steps 24 to 25 until you have bound off all of your 30 stitches. Before you very last bind off, cut your yarn to have about the width of your knitting plus 6 inches. Then as you pull the second last stitch over your final stitch on your right needle, you are simply going to put the right needle stitch away from the rest of your knitting until you've pulled the entire remainder of the yarn out of your last stitch to tie the final knot.

Step 27
If you are knitting a regular straight scarf this would be your final step and you could either cut your yarn shorter or weave the end through your knitting to hide the loose end and add an extra precaution from unraveling. However if you are knitting a circle scarf like I am, you are going to thread the loose yarn through your darning needle, which is simply a needle with a head that is big enough to fit a piece of yarn through it. Then you will stitch either end of your scarf together with the remaining yarn with a simple loop stitch and ending with a knot at the end. Then, as I said for a regular scarf above, you can weave the end through your knitting to hide the loose end and add an extra precaution from unraveling.
Happy knitting!
Once you've mastered these beginner skills, YouTube has made it incredibly easy to learn to knit various other projects without having to read confusing patterns, meaning you also don't have to spend money on those patterns! Here is a link to my post on Knitting Projects for Beginners.